BeastLink Beast Controls
You are suddenly the skyline — move like you mean it.
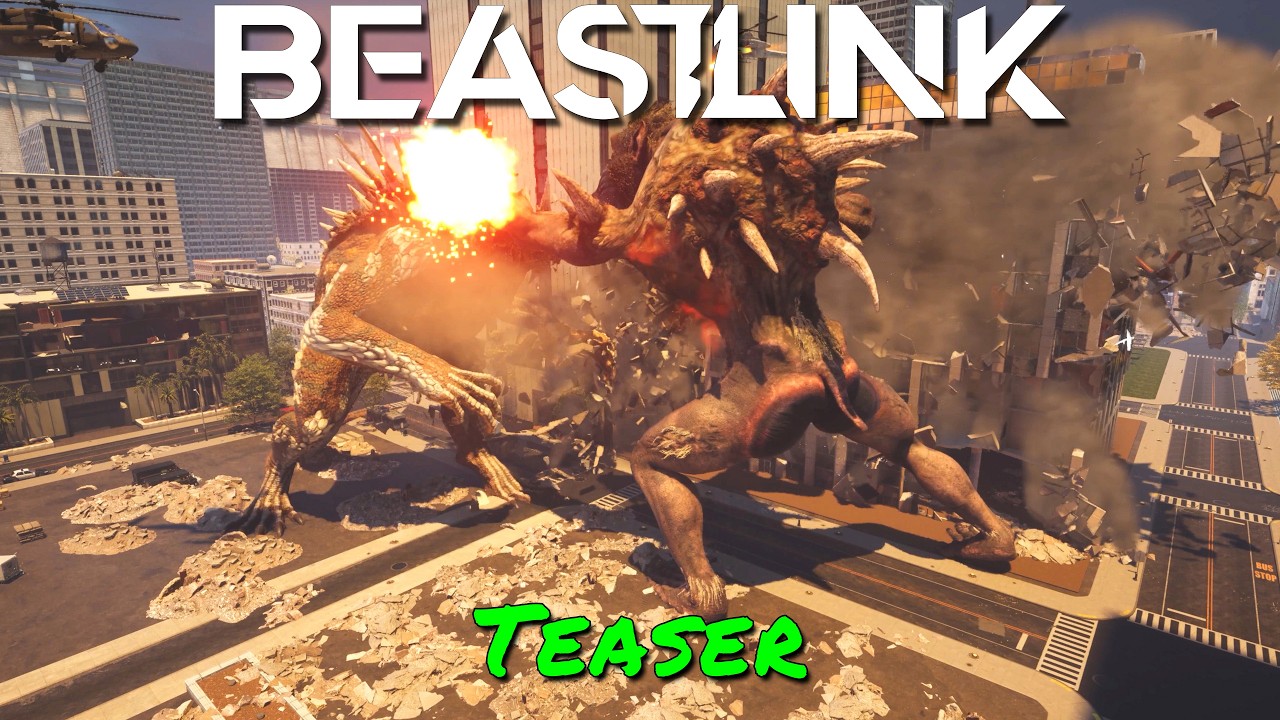
Beast controls are where highlight reels are born and where egos die. The camera scale changes, ability cadence changes, and every mistake is visible from three districts away. Treat your first hours as flight school.
Camera and movement
Relearn spacing. Attacks that felt melee as a human are neighbourhood-scale now. Strafe with demolition in mind: each body check might open a lane or trap you. Cross-train with SuperDestruction Guide.
Ability cadence
Do not panic dump every cooldown on the first rooftop. Hold a disengage tool — camouflage, mobility burst, scream window — for the moment focus fire lands. Kit specifics live on Horned Lizard, Bull Shark, Vampire Bat, and Mandrill.
Target priority
Delete the threat that prevents your team from playing: anti-Beast vehicles, clustered humans on an objective, or a rival Beast mid-combo. Random civilian scenery can wait unless you need a path.
Survivability habits
Leave when peels are gone. Break line of sight with collapses. Accept that death returns you to human form — tilt is optional. Economy reset notes are in How to Get Serum.
Practice plan
Lab one Beast for an evening using Convergence. Bind familiarity beats roster FOMO. Compare alternatives later with Beast Comparison. Return to Controls Hub and How to BeastLink until the transform checklist is muscle memory.
Frequently Asked Questions
Quick answers grounded in what BeastLink players ask most.
Why do Beast controls feel hard?
Scale, camera, and ability timing differ from human FPS habits — isolate practice time for the Beast layer.
Should I remap Beast keys immediately?
Learn defaults first in tutorial or offline content, then remap with intention.
What is the biggest Beast control mistake?
Spending every cooldown on entry and having nothing left when the lobby focuses you.